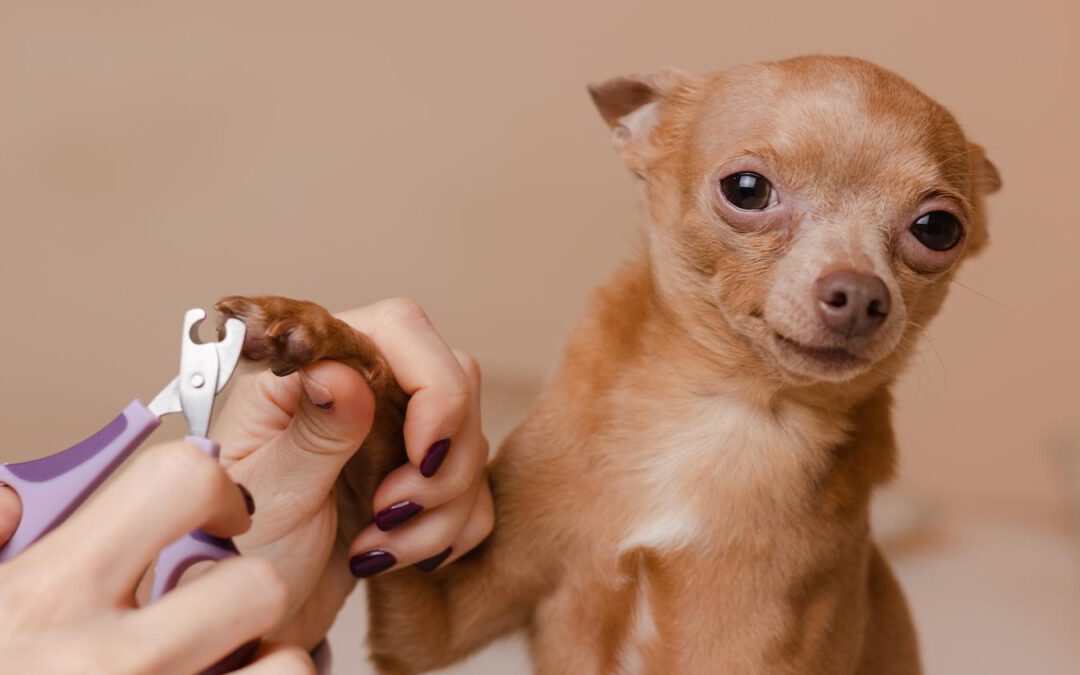
Does your dog have a chaotic breakdown every time you try to trim their nails? It’s a simple enough task, but to your canine companion, it’s akin to the end of the world.
Successfully clipping your pup’s claws can be an immense challenge when they don’t sit still. Professional groomers might make it look easy, but it can be really hard when you try to do it yourself.
At a Glance
- Dog nail trimming helps to prevent pain or discomfort, improve posture and mobility, and maintain good paw and nail health for your pup.
- It’s likely time to trim your pup’s paws if you can hear a clicking sound when they walk on hard surfaces or if their nails touch the ground when standing.
- Click here for a step-by-step tutorial on trimming your pup’s nails.
Keep reading to learn how you can make trimming your furry friend’s nails a walk in the park.
See Related: Excessive Panting In Dogs And What It Means
Why Do Dogs Need Their Nails Trimmed?
Keeping your pup’s nails clean and cut isn’t just about maintaining appearances. After all, we’re sure you think your furry friend is simply adorable no matter what! But even though your dog might look like an Instagram baddie with their long nails, it’s actually rather uncomfortable and painful for them.
Every time they take a step, these long talons are pushed up into their nail bed. This can put pressure on their joints and cause their toes to twist uncomfortably to the side.
Especially if your pooch is really active, keeping their nails trimmed will allow them to go about their day in comfort. That’s the least they deserve! That way, their morning walks will be a truly enjoyable endeavor for you both, even if you need to scoop a particularly large dog poo. 💩
Do you want to forget about the unpleasant task of poop picking up for good? Simply book a team of professional dog waste removers to do this stinky chore for you!
How Often Should My Dog’s Nails Be Trimmed?
Some dogs’ nails grow quicker than others. Some canines need their claws trimmed every one to two weeks, while others can go up to three to four weeks before their nails need a manicure. In general, you can plan on trimming your dog’s nails every three weeks.
If you can hear your dog’s nails clicking against a hard floor as they walk, they are overdue for a nail trim. When standing, your dog’s nails shouldn’t touch the ground. Additionally, if you notice changes in your pup’s gait or posture, this can also signal that their claws are too long.
How to Trim Dog Nails
Now comes the hard part. Most pet parents know that dog nail trimming is no easy task. Unless your canine is super chill, it can be really hard to correctly cut their nails.
So, let’s go over this process step-by-step. Keep reading!
Bonus: Dog Walking 101: How Often Should You Walk Your Dog?
Step #1: Desensitize Your Furry Friend to Paw-Touching
Some dogs might be fine with you touching their paws. But others might not be completely comfortable with it.
If your furry friend immediately pulls away when you grab their toes, you’ll need to make them OK with it.
To do this, start by petting them in a spot you know they enjoy, like their head or back. After a few seconds, slowly move your hand to their thigh before gradually making your way to their paw.
Be careful not to pull their paw too far from their body. Keep it in its current position before gently picking it up in your hand. Try to softly touch their toes one by one and watch for signs of aggression or distress.
Step #2: Desensitize Your Pet to the Nail Trimming Device
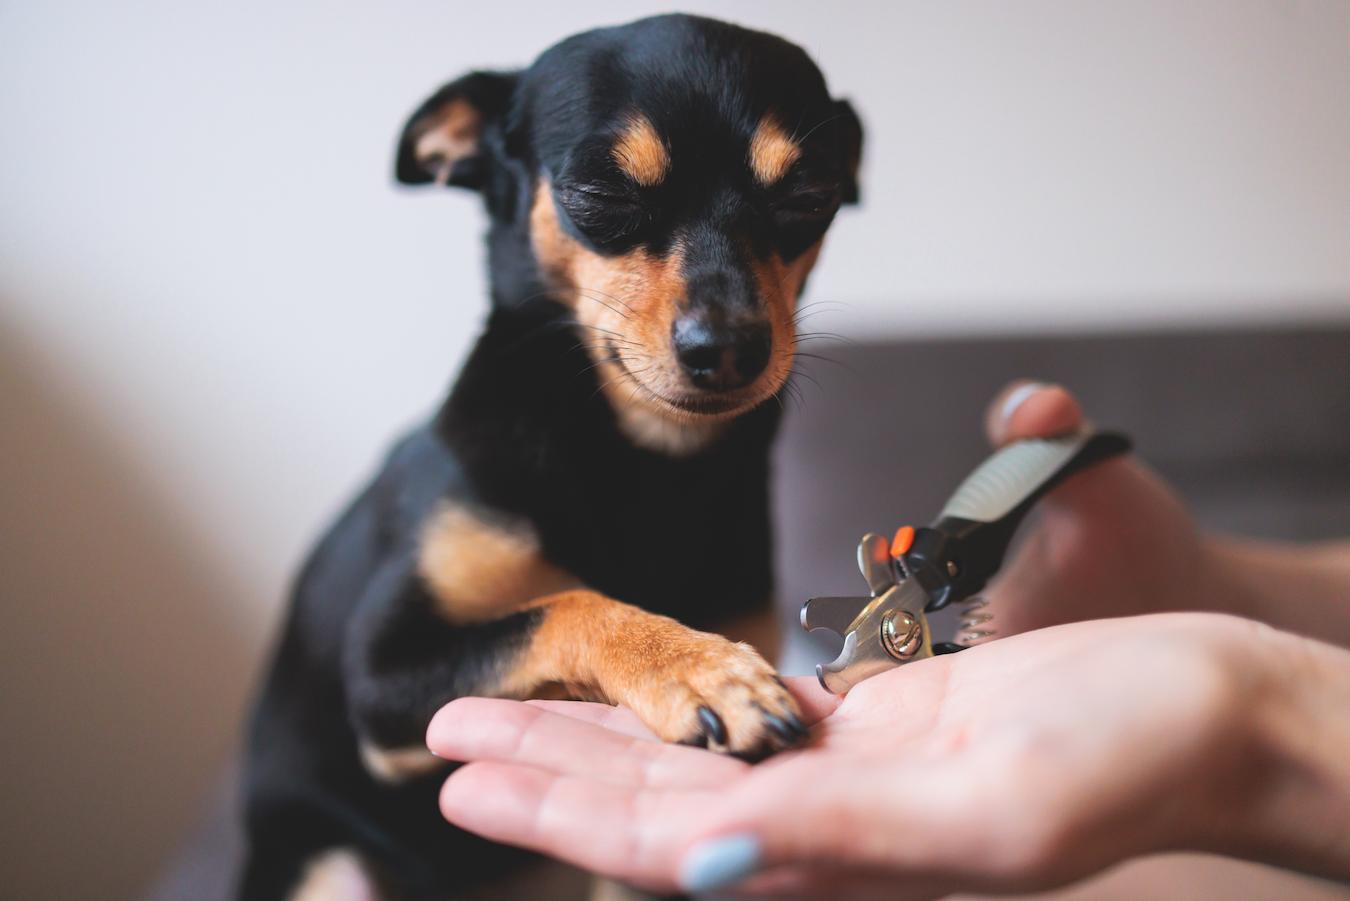
Be prepared to exercise a lot of patience with your pup. Though you are very well aware that the nail trimmers aren’t evil, your dog might not agree. To you, nail clippers are a necessary tool. But, to your canine, they’re torture devices.
It’s time to desensitize your pooch to your chosen nail-trimming device. Most pet parents opt for nail clippers, as they are relatively quick and easy to use. The only downside is that they can make the edges of your pup’s nails rather sharp.
As you present your nail-trimming device to your doubtful dog, give them plenty of tummy scratches, treats, and praise. This will help them associate the clippers with positivity!
Over time, you can slowly work up to touching your pup’s fur with the device. If at any point they show signs of discomfort, backtrack and stay at the previous stage for a little longer.
Step #3: Understanding the Anatomy of Your Dog’s Nails
It’s important to have a solid understanding of the anatomy of your dog’s nails. That way, you’ll know exactly where to cut their claws.
The outer layer of dog nails is made of a protein called keratin. It’s essentially a hard, protective coating that keeps their talons strong and makes digging holes an easy feat.
Underneath the outer shell is live tissue called the quick. It’s where the blood vessels and nerves are located. For canines with white nails, you will likely be able to see this pink area, which will make it much easier to give your pup’s nails a proper trim.
Keep in mind that trimming too close to the quick can be painful for your pup. It can even cause them to bleed if you cut too close to this live tissue.
Underneath the quick is the bone, which you definitely should not be trimming.
Step #4: Trim Your Pup’s Nails
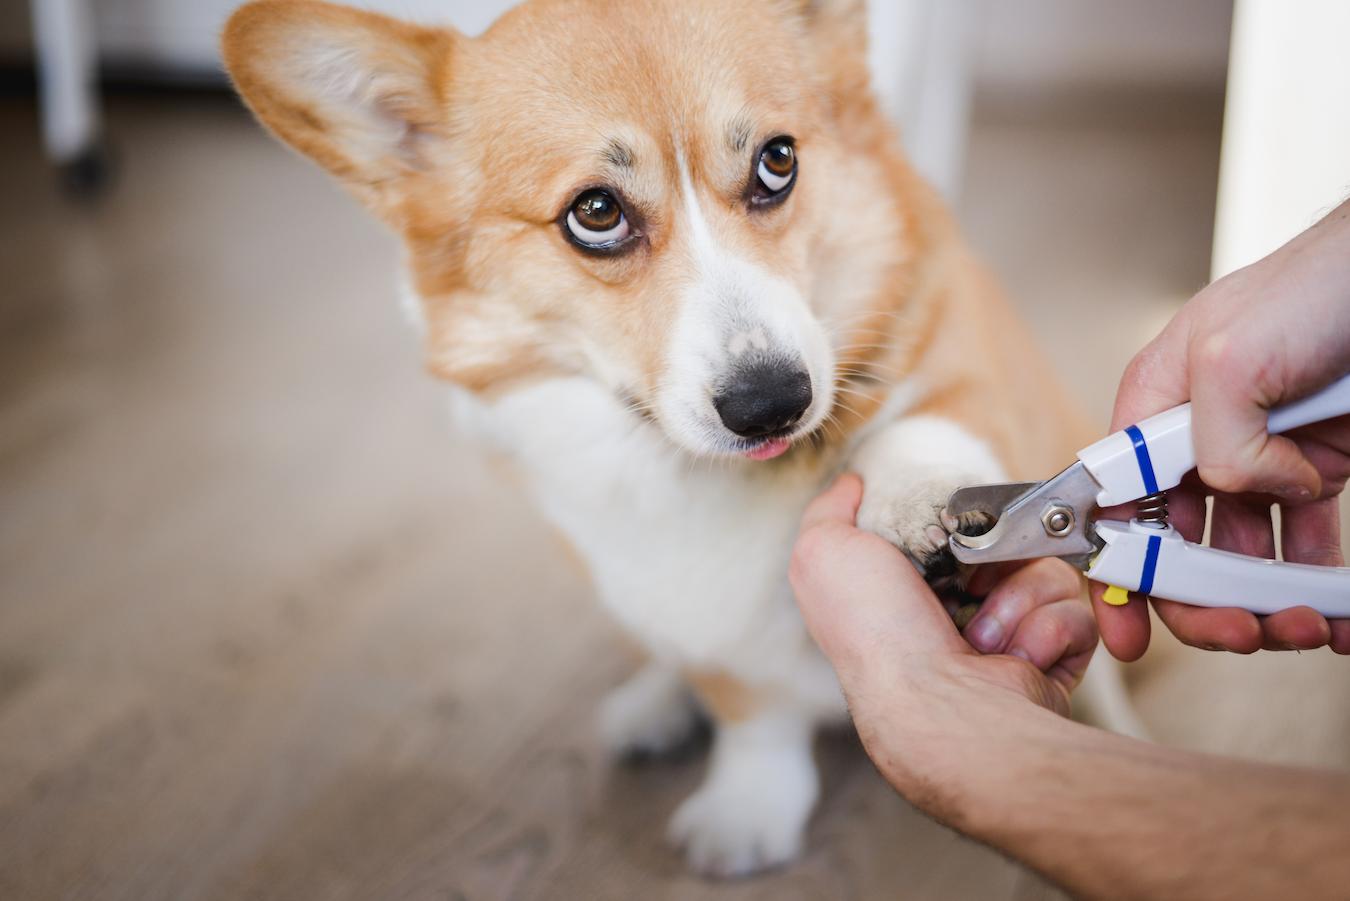
Make sure your furry friend is comfy and cozy. Now, it’s time to get to work.
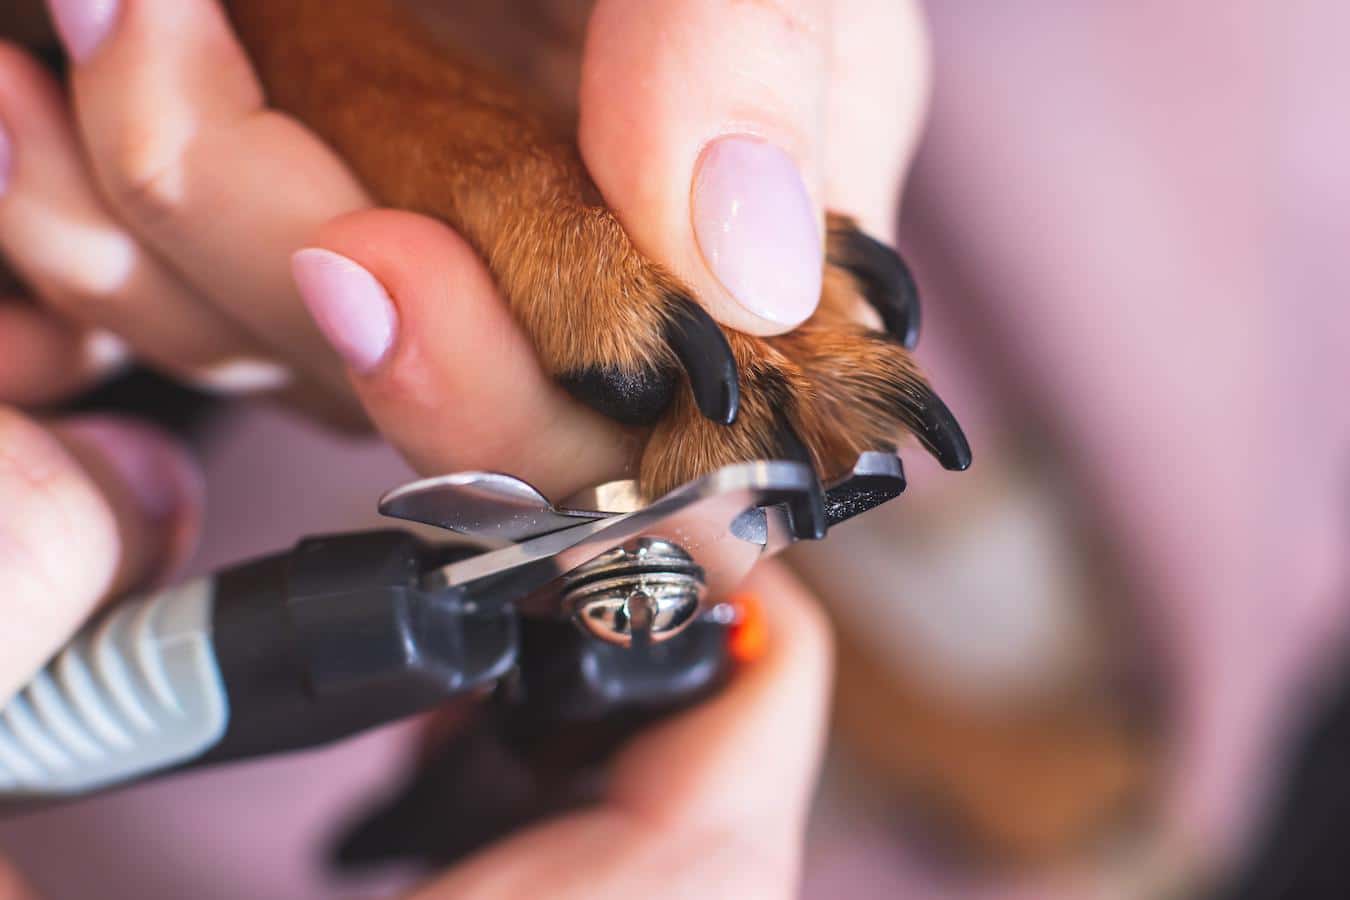
With your nail clippers, cut a small sliver of their nail at a time, starting at the tip. Try to end three to four millimeters away from the quick. Even if you don’t pierce the quick, cutting too close can still be painful for your pup.
Watch for a chalky white ring and try to avoid clipping past the curve of the nail. If you do accidentally cut the quick when trimming your dog’s nails, be prepared for lots of blood. It’s also rather painful, so your pup will likely yelp or cry.
Just stay calm, and be sure to console your furry friend as best you can! It’s a pretty superficial injury, and your dog won’t have any lasting damage (Unless you cut really, really too far. If that’s the case, go to the vet right away!) You can use styptic powder, cornstarch, or baking powder to help stop bleeding and apply a bit of pressure to the tip with a paper towel. It will stop in a couple of minutes.
When it comes down to it, cutting your canine’s nails isn’t a fun task. If it ever seems like too much, take them to a professional groomer instead.
Step #5: Repeat in Three to Four Weeks
You should only cut your dog’s nails a little bit at a time. It might not seem like much, but the quick will prevent you from cutting off too much at once.
It’s important to repeat this process at least once a month. Over time, the quick will recede, allowing you to trim more of your dog’s nails.
Keep Reading: The Most Common Causes Of Diarrhea In Dogs And How To Fix Them
—
Scoop Masters offers professional dog waste removal services in California, Texas, Florida, and Tennessee. Since 1988, we’ve saved dog owners across the country from the overly unpleasant task of picking up after their pets. Each poopy project we complete gives them the freedom, convenience, and sanitation they deserve! Contact us for a free quote, or simply stock up on enough dog poop bags to keep your pet’s number twos at bay. To stay in the loop, follow up on Facebook and Twitter/X. If your dog can poop it, we can scoop it!


Trackbacks/Pingbacks